The Complete Guide to Carpet Removal for Home Renovations
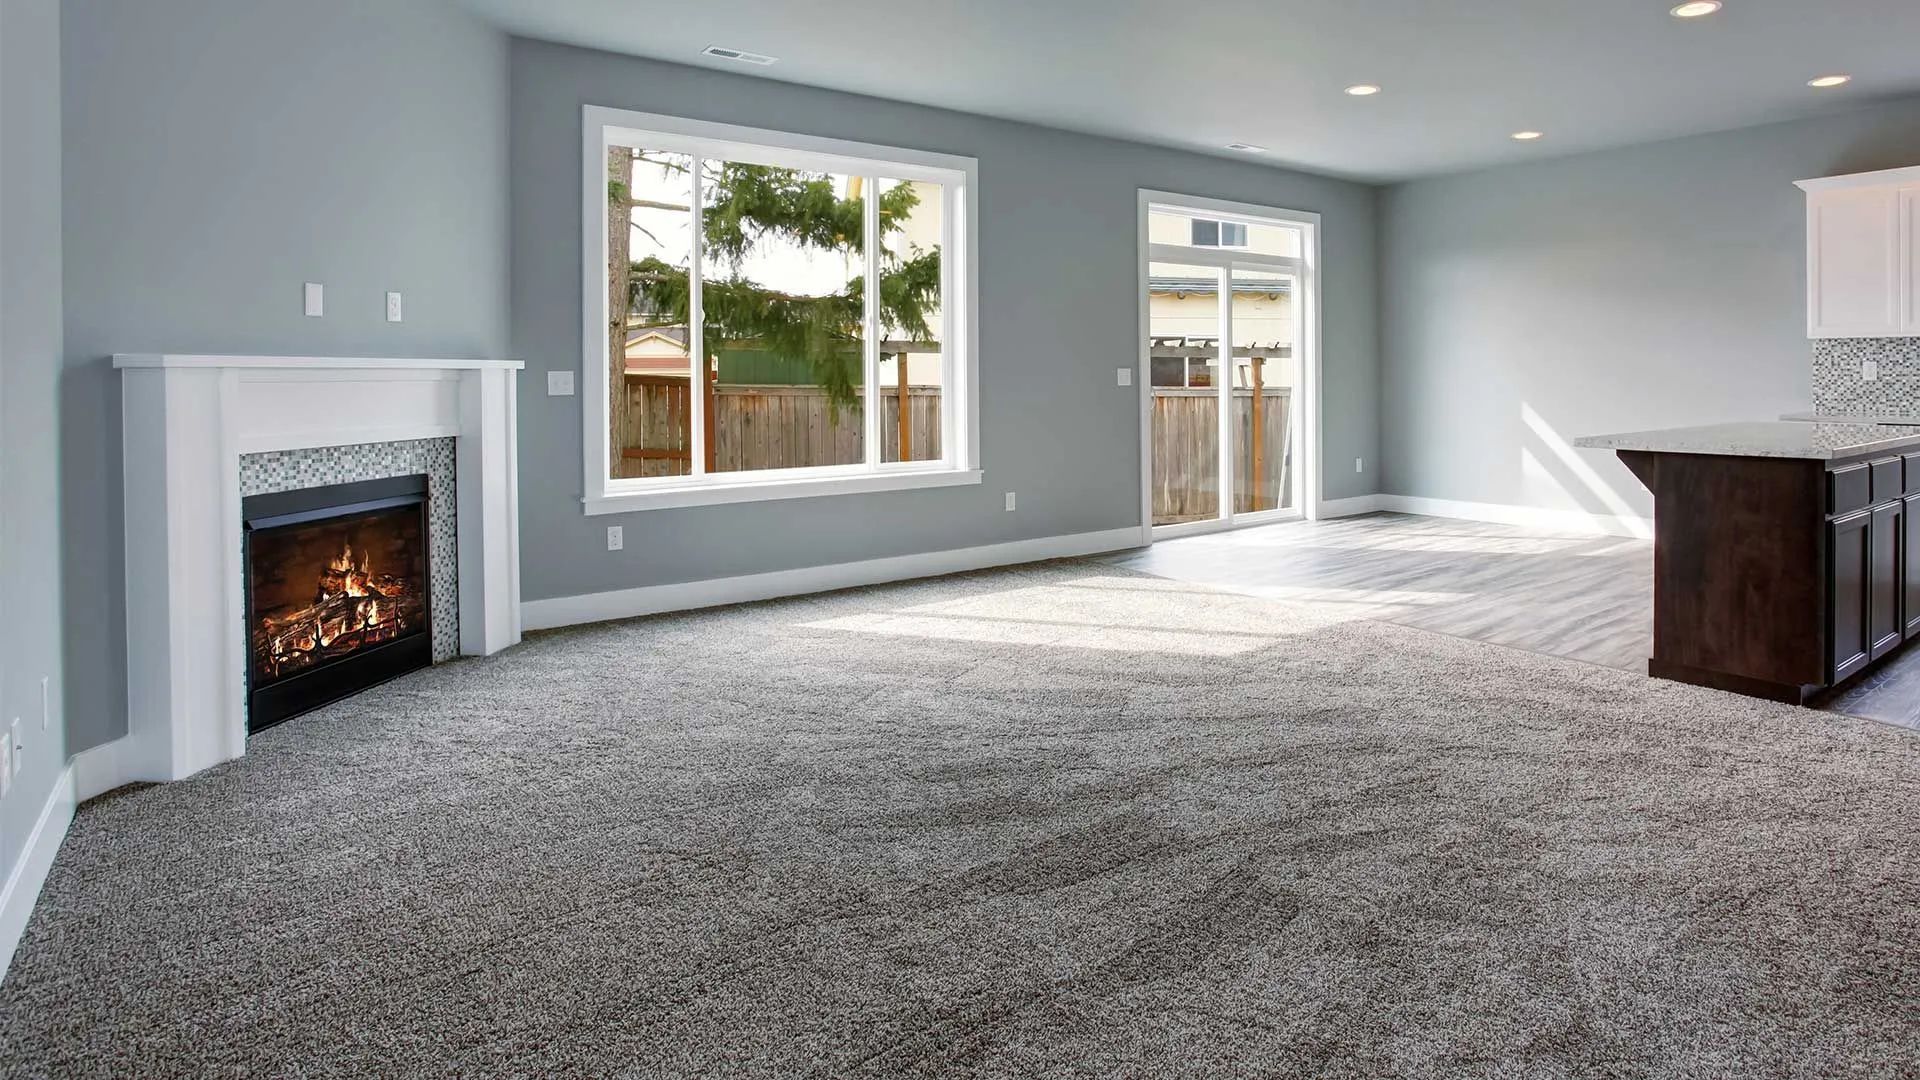
When planning a home renovation, one of the first steps often involves removing outdated or worn carpeting. Old carpets can harbor allergens, stains, odors, and wear that detract from your home's appeal and functionality. In addition, lingering moisture or trapped debris beneath the carpet can cause long-term damage to subflooring and indoor air quality. Carpet removal not only improves hygiene and aesthetics but also prepares the space for a fresh, modern upgrade. Whether you're upgrading to hardwood, tile, or luxury vinyl,
proper carpet removal sets the foundation for a smooth and lasting installation. Let’s dive into how to do it right.
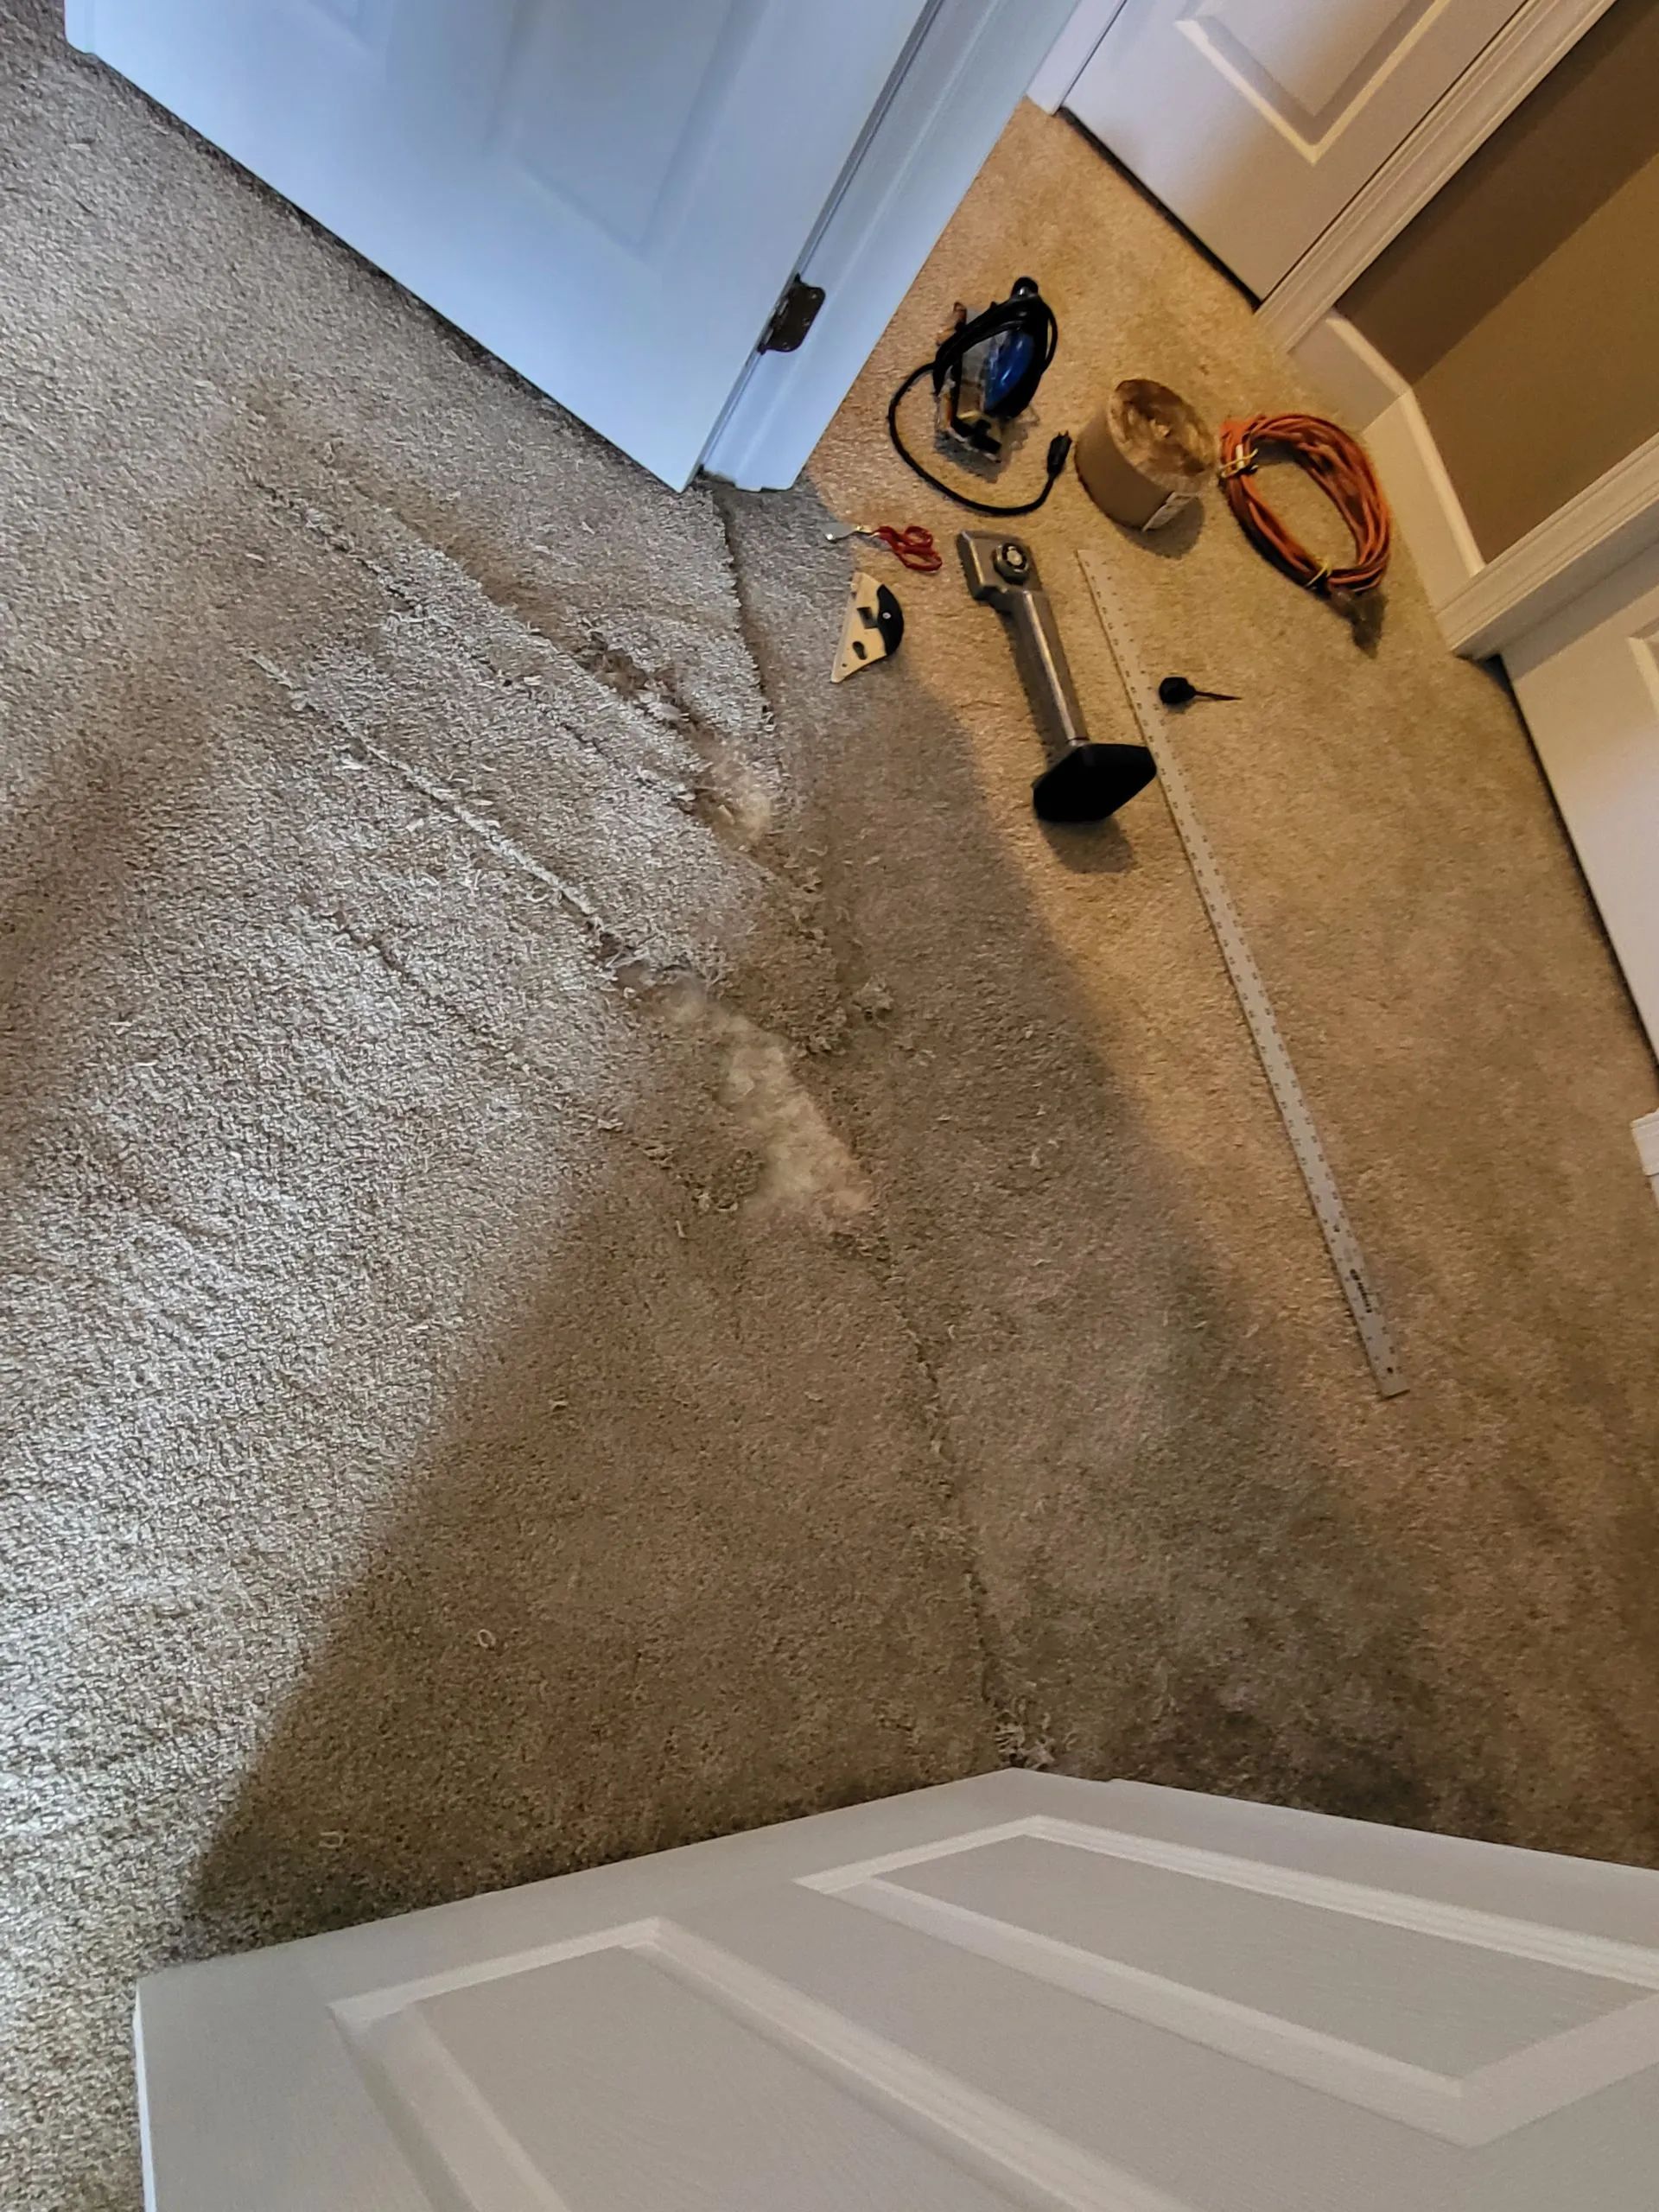
1. Gather the Right Tools
Before starting, gather essential tools like utility knives, pliers, pry bars, gloves, dust masks, and knee pads. You may also need a staple remover, a floor scraper, and trash bags or bins to manage old materials. Proper preparation ensures safety and efficiency. Having everything within arm’s reach prevents delays and minimizes movement during the job.
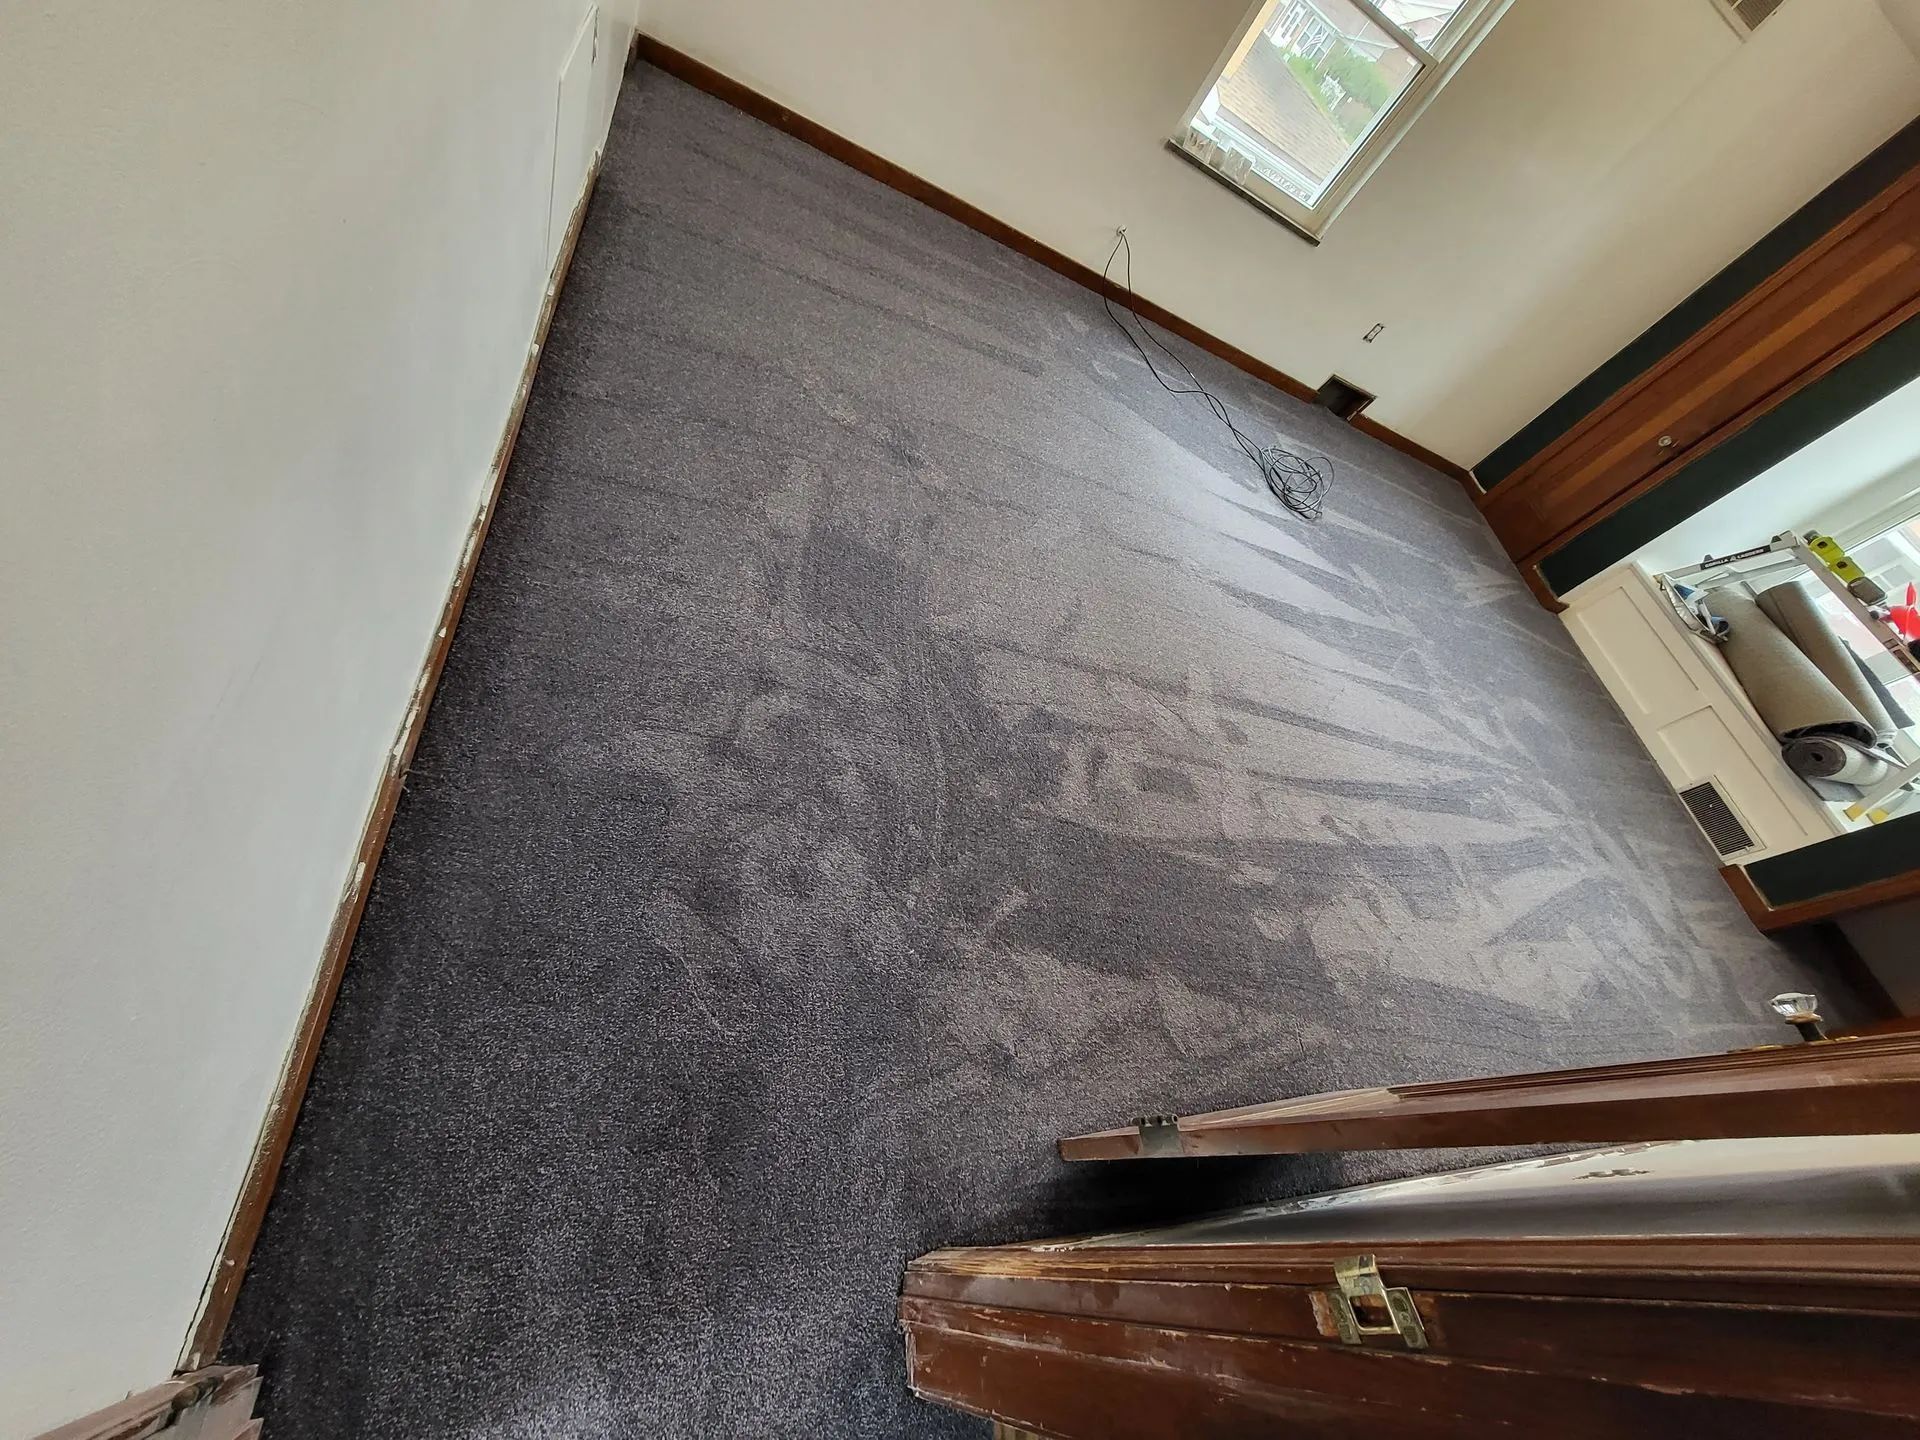
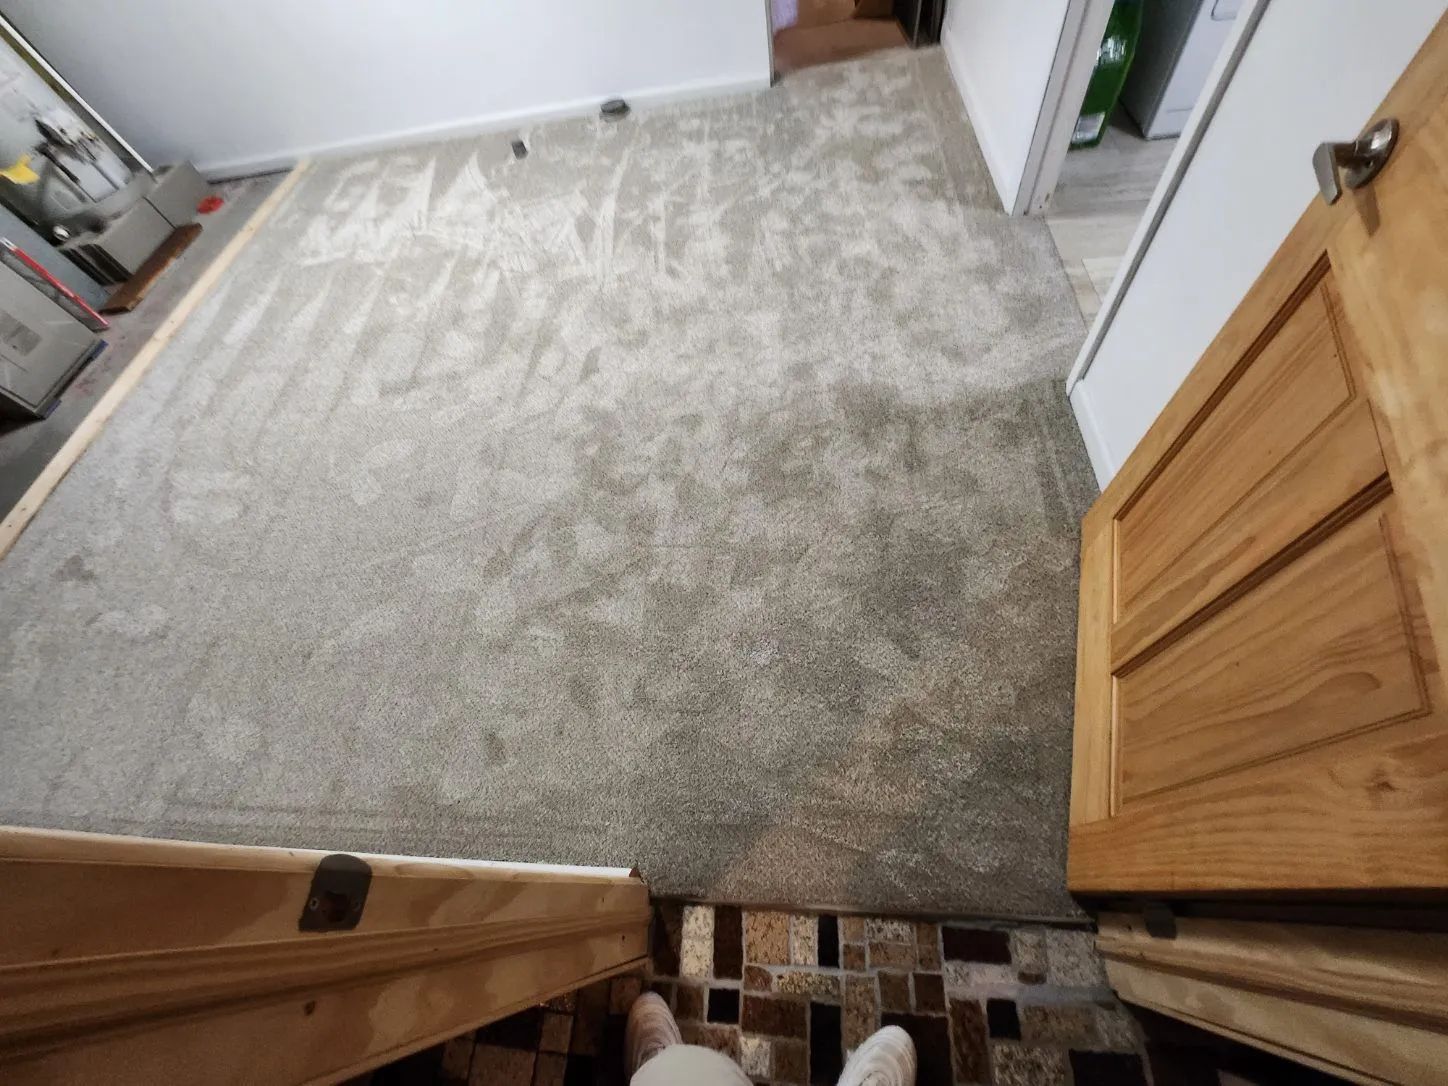
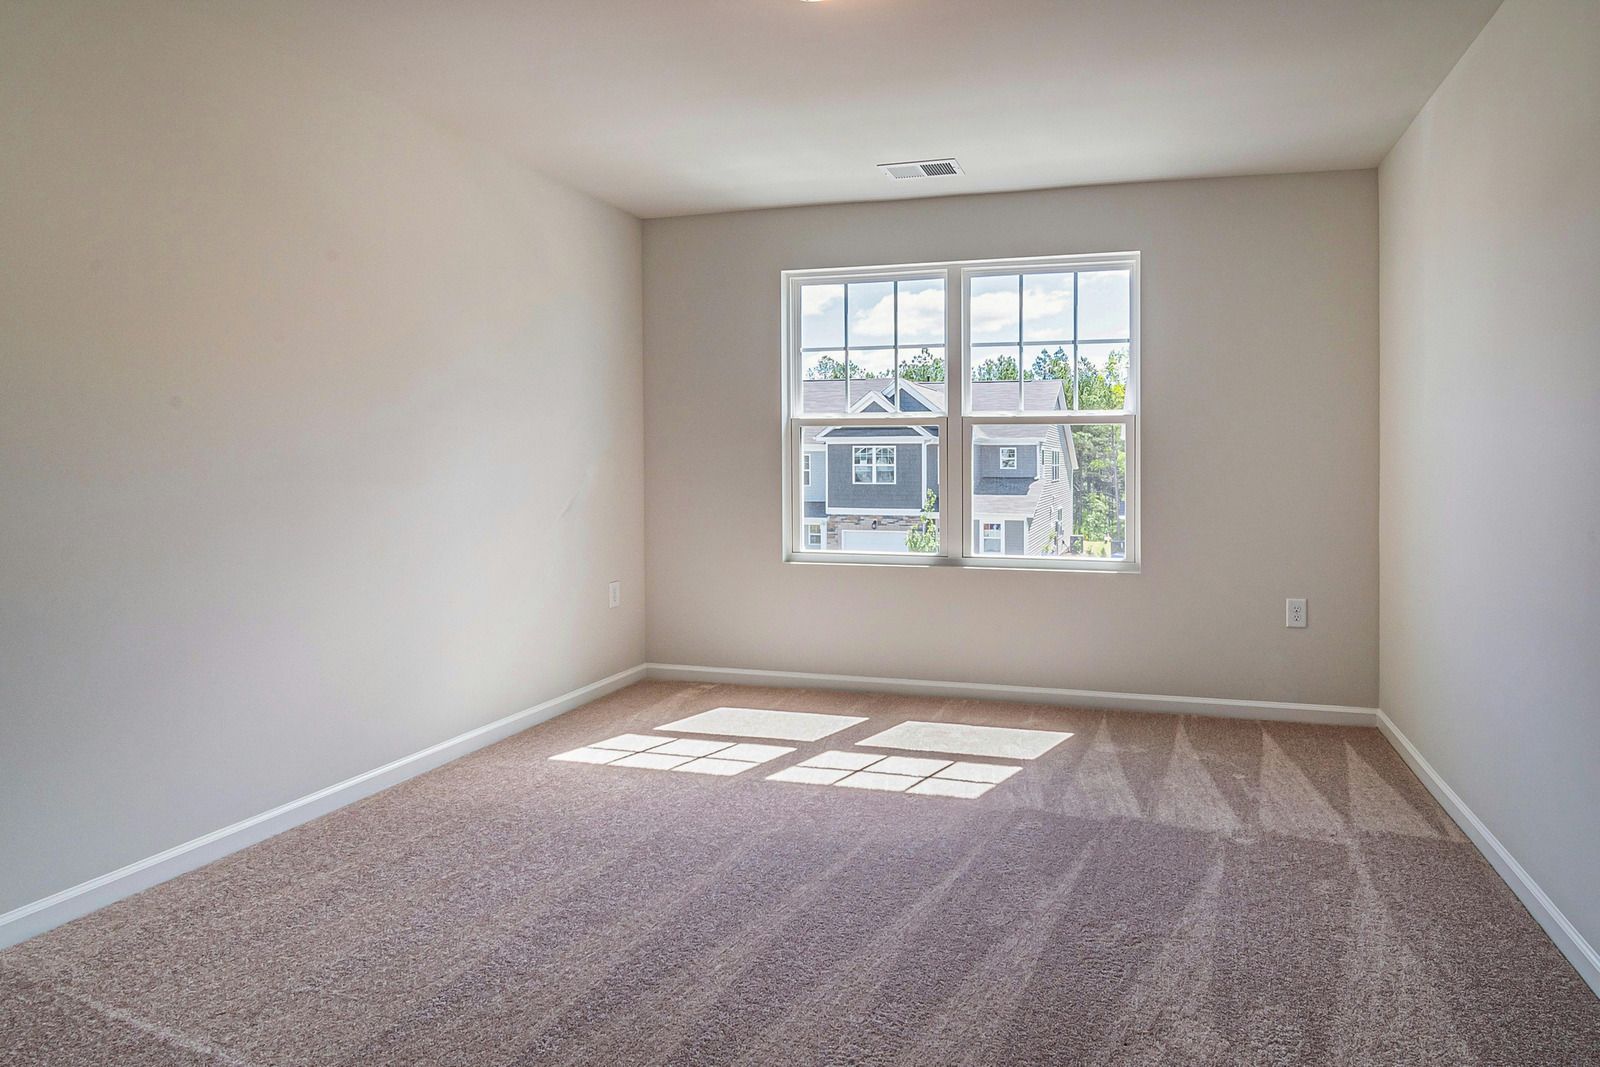
2. Clear the Area
Begin by moving all furniture out of the room and, if possible, removing baseboards to gain full access to the carpet. Doors that swing into the room should also be taken off their hinges to avoid obstruction. Label baseboards and door hardware as you remove them—this will make reinstallation much easier and faster later on.
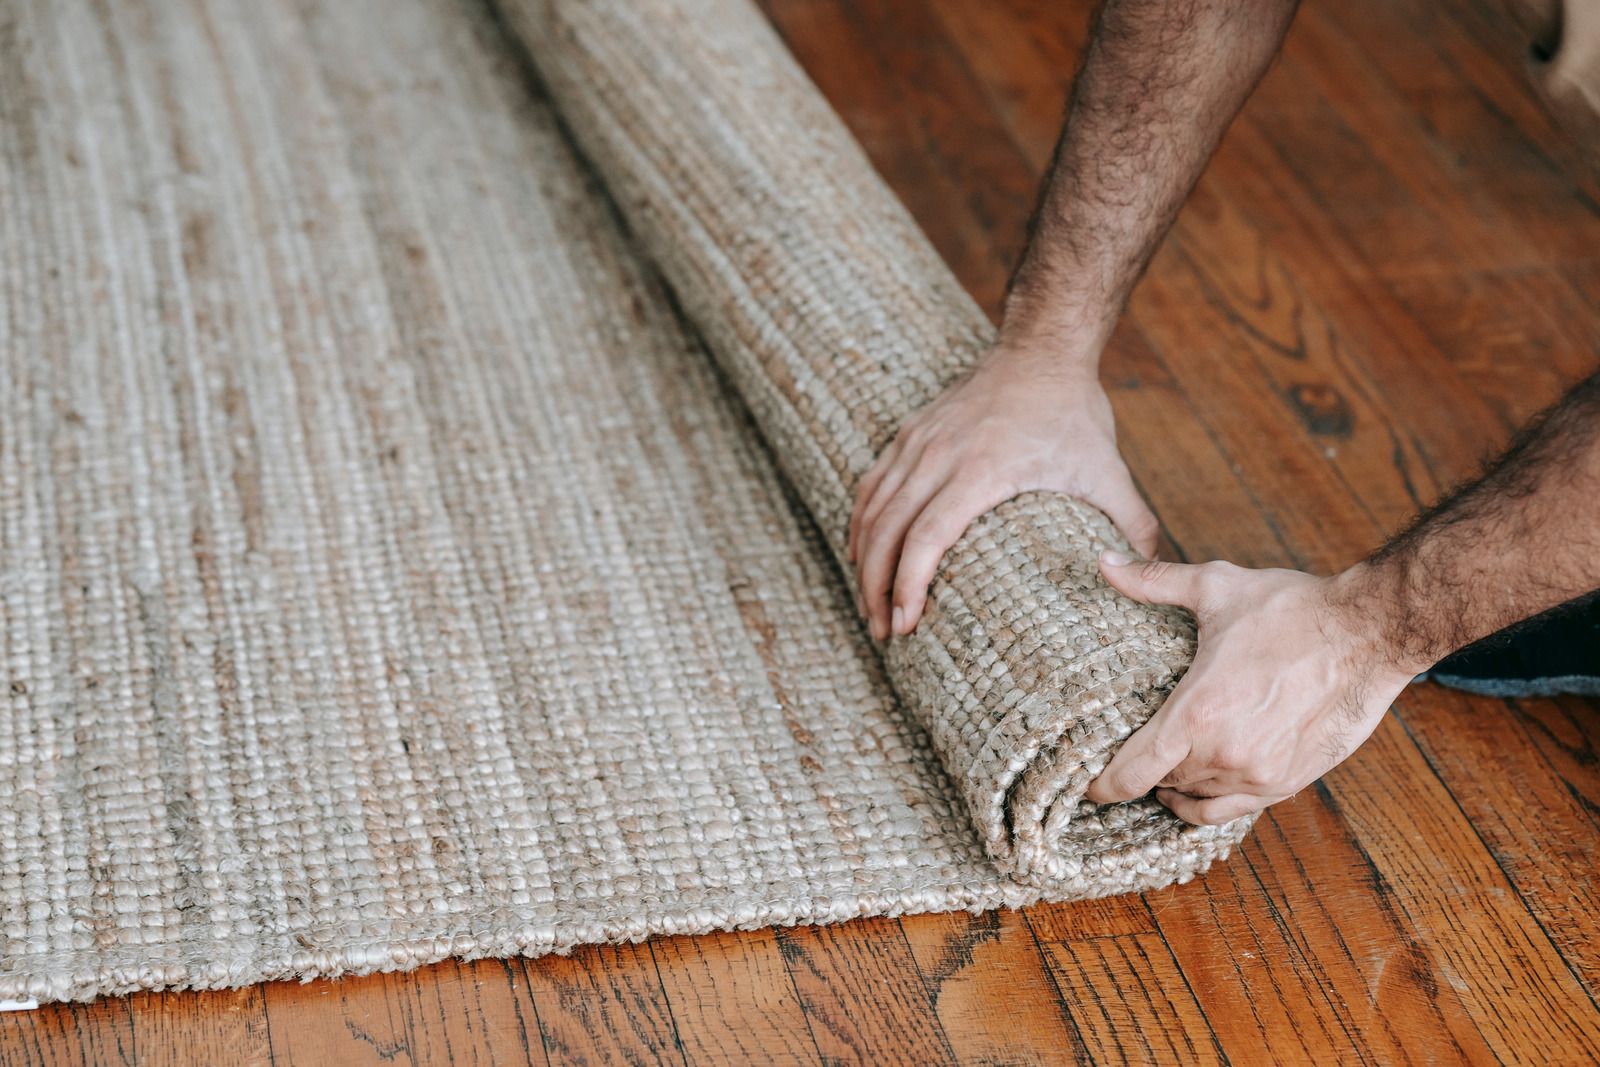
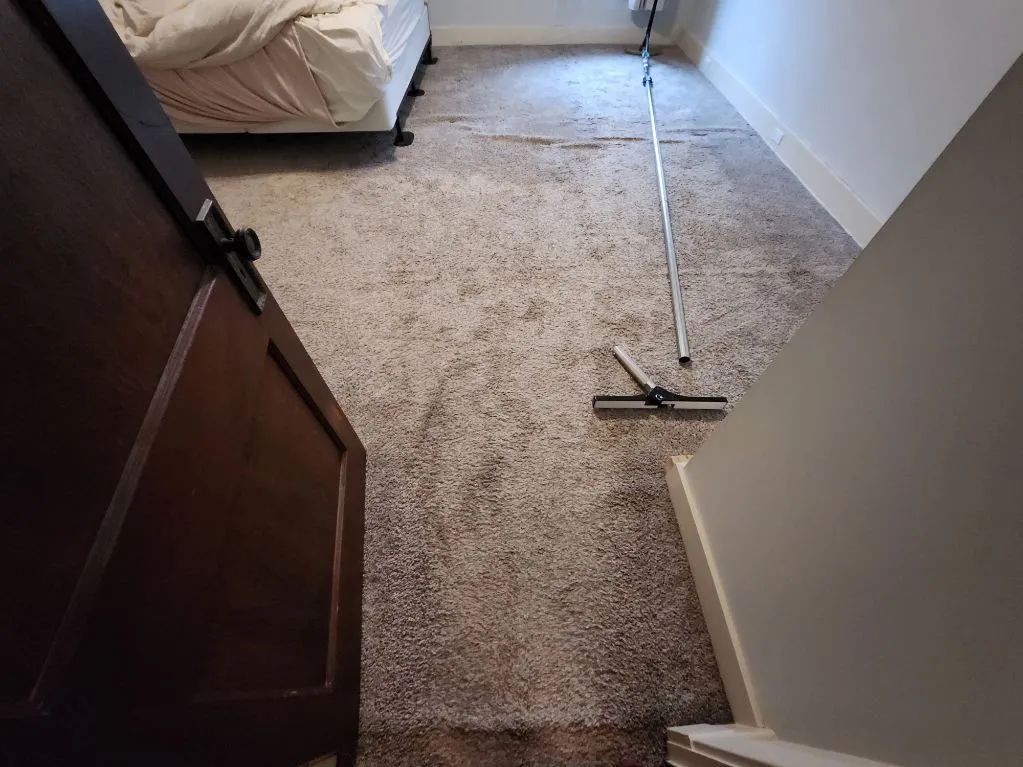
3. Cut and Roll
Use a utility knife to slice the carpet into manageable strips about three feet wide. Roll up each section tightly and secure it with duct tape, which makes carrying and disposal more efficient. This approach reduces strain and helps keep your space organized during demolition. Always use a sharp blade and change it frequently to prevent fraying or resistance.
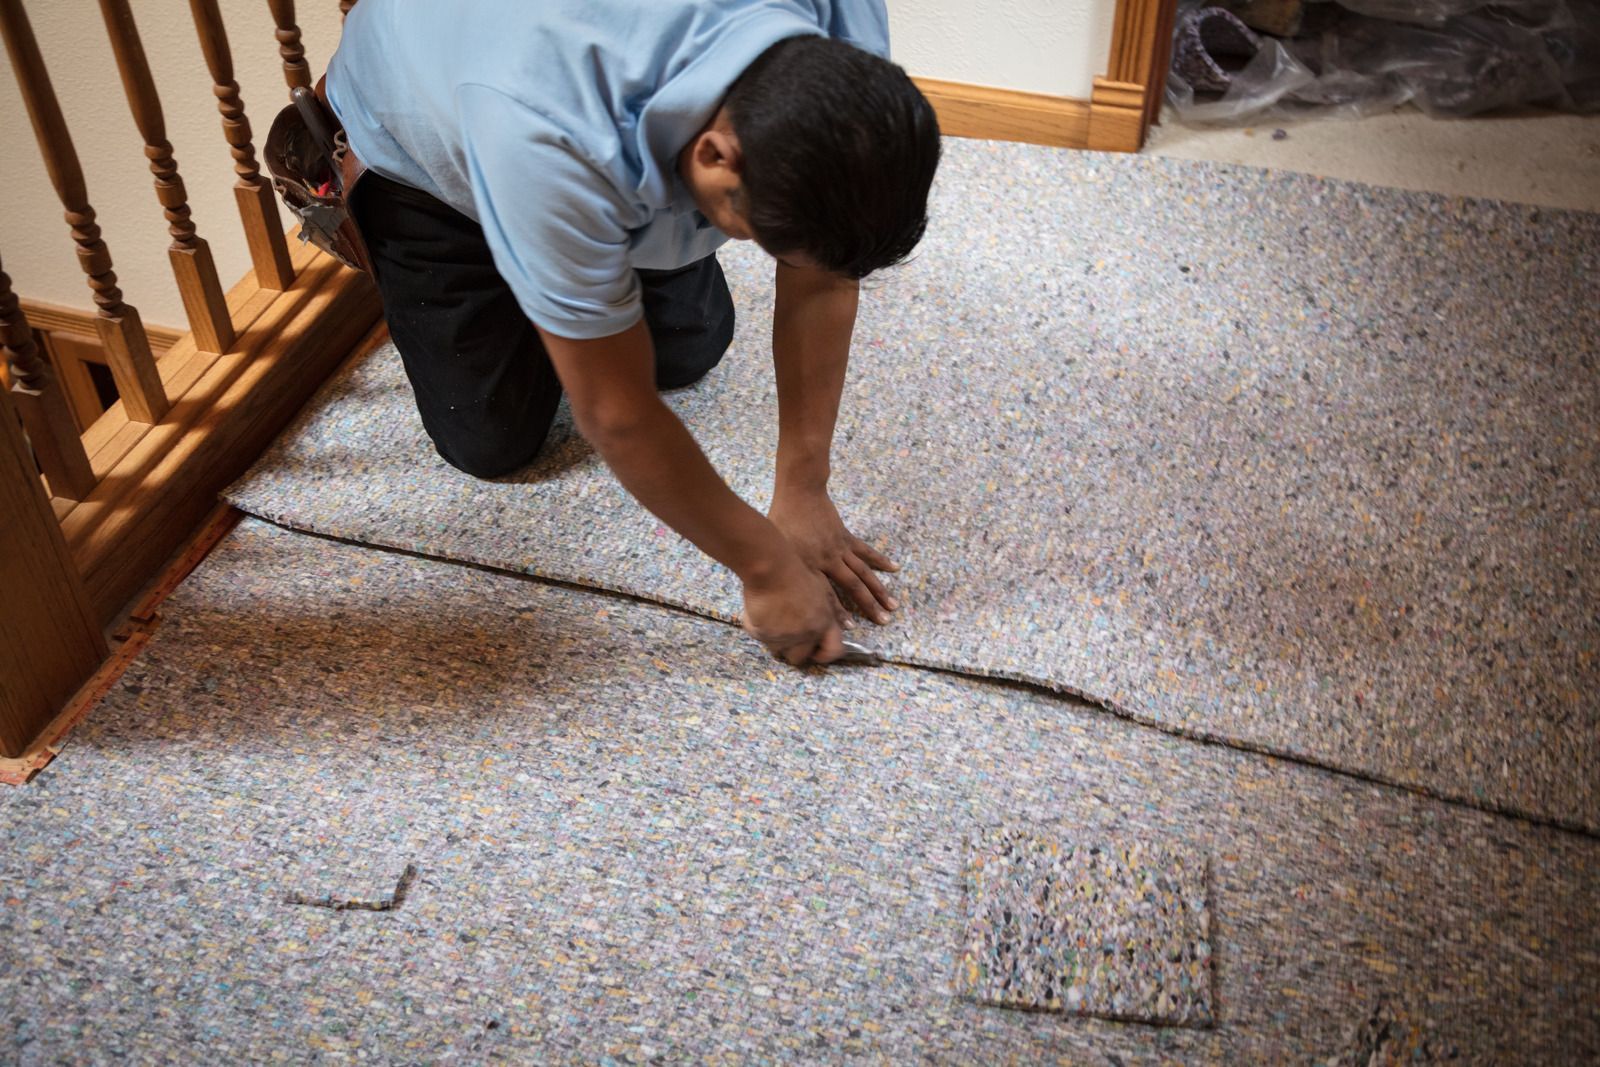
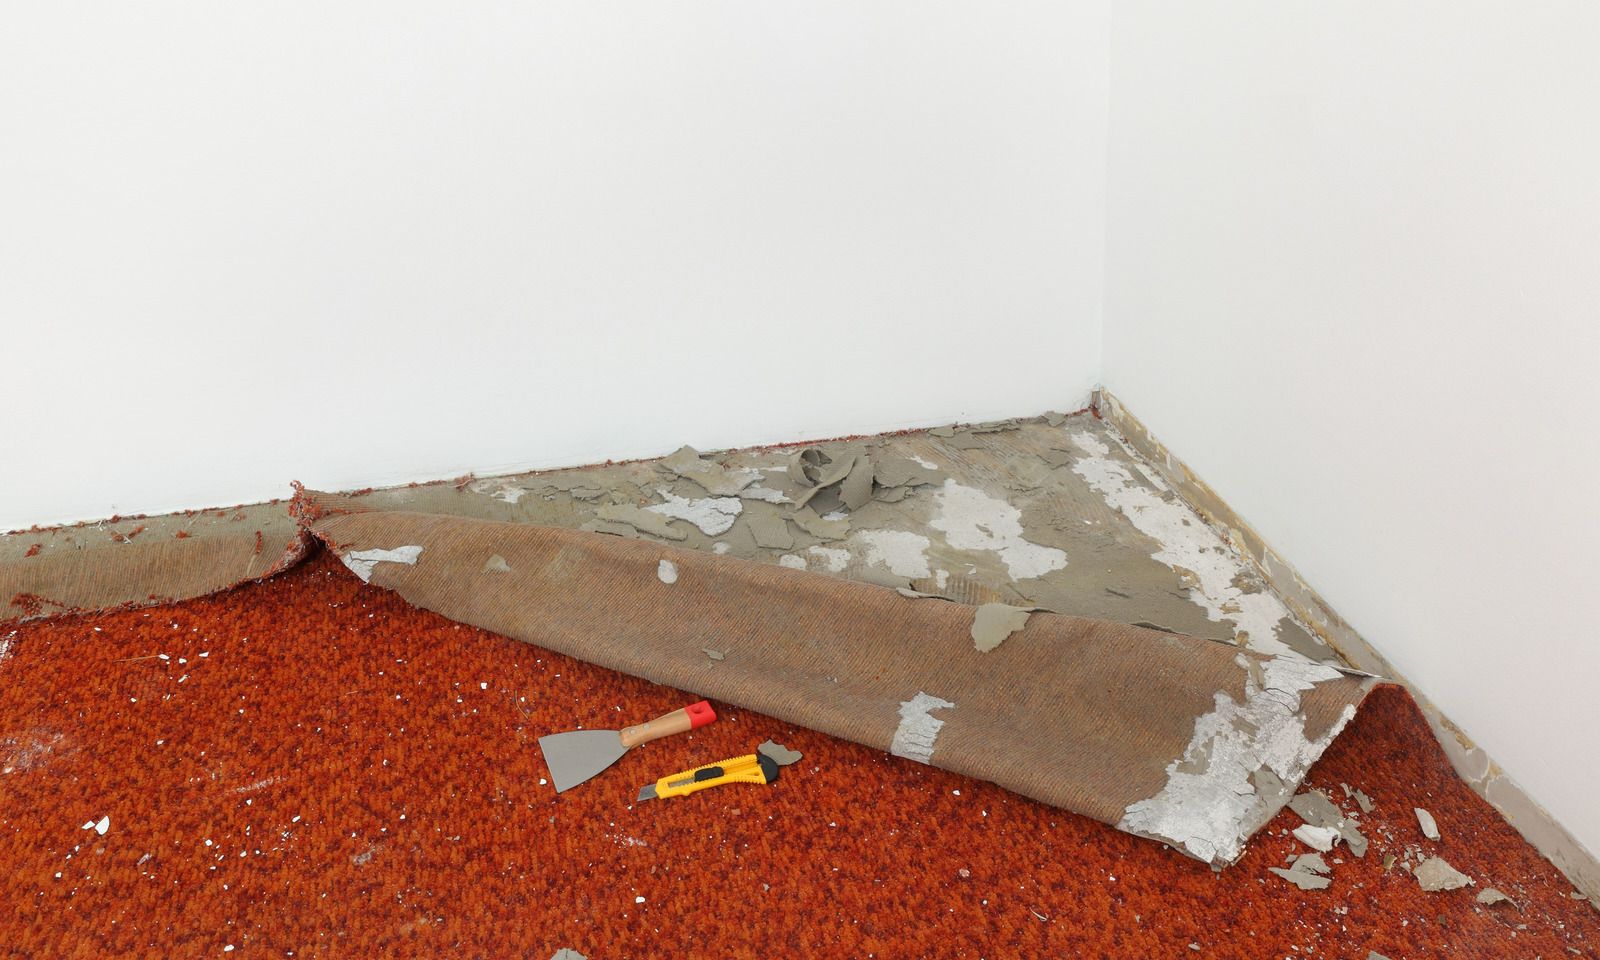
4. Remove the Padding
After removing the carpet, pull up the foam padding underneath. Padding is usually stapled or glued down, requiring some scraping, pulling, or chiseling. Be sure to check thoroughly for any remaining staples or tacks, which can interfere with the new flooring installation. A flat shovel or scraper can help lift stuck padding quickly and with less effort.
5. Deal with Tack Strips and Staples
Tack strips run along the room’s perimeter and hold the carpet in place with small, sharp nails. Use a pry bar and hammer to carefully lift them. Always wear thick gloves at this stage to avoid injury from sharp edges. Once the strips are up, sweep the entire subfloor and inspect it for loose nails or staples that need to be removed.
6. Dispose Responsibly
Finally, dispose of the old carpet and padding in accordance with local regulations. Some municipalities require specific handling or recycling procedures. If the carpet is still in good condition, consider donating it to a local reuse center. Recycling carpet materials helps reduce landfill waste and supports eco-friendly renovation efforts.
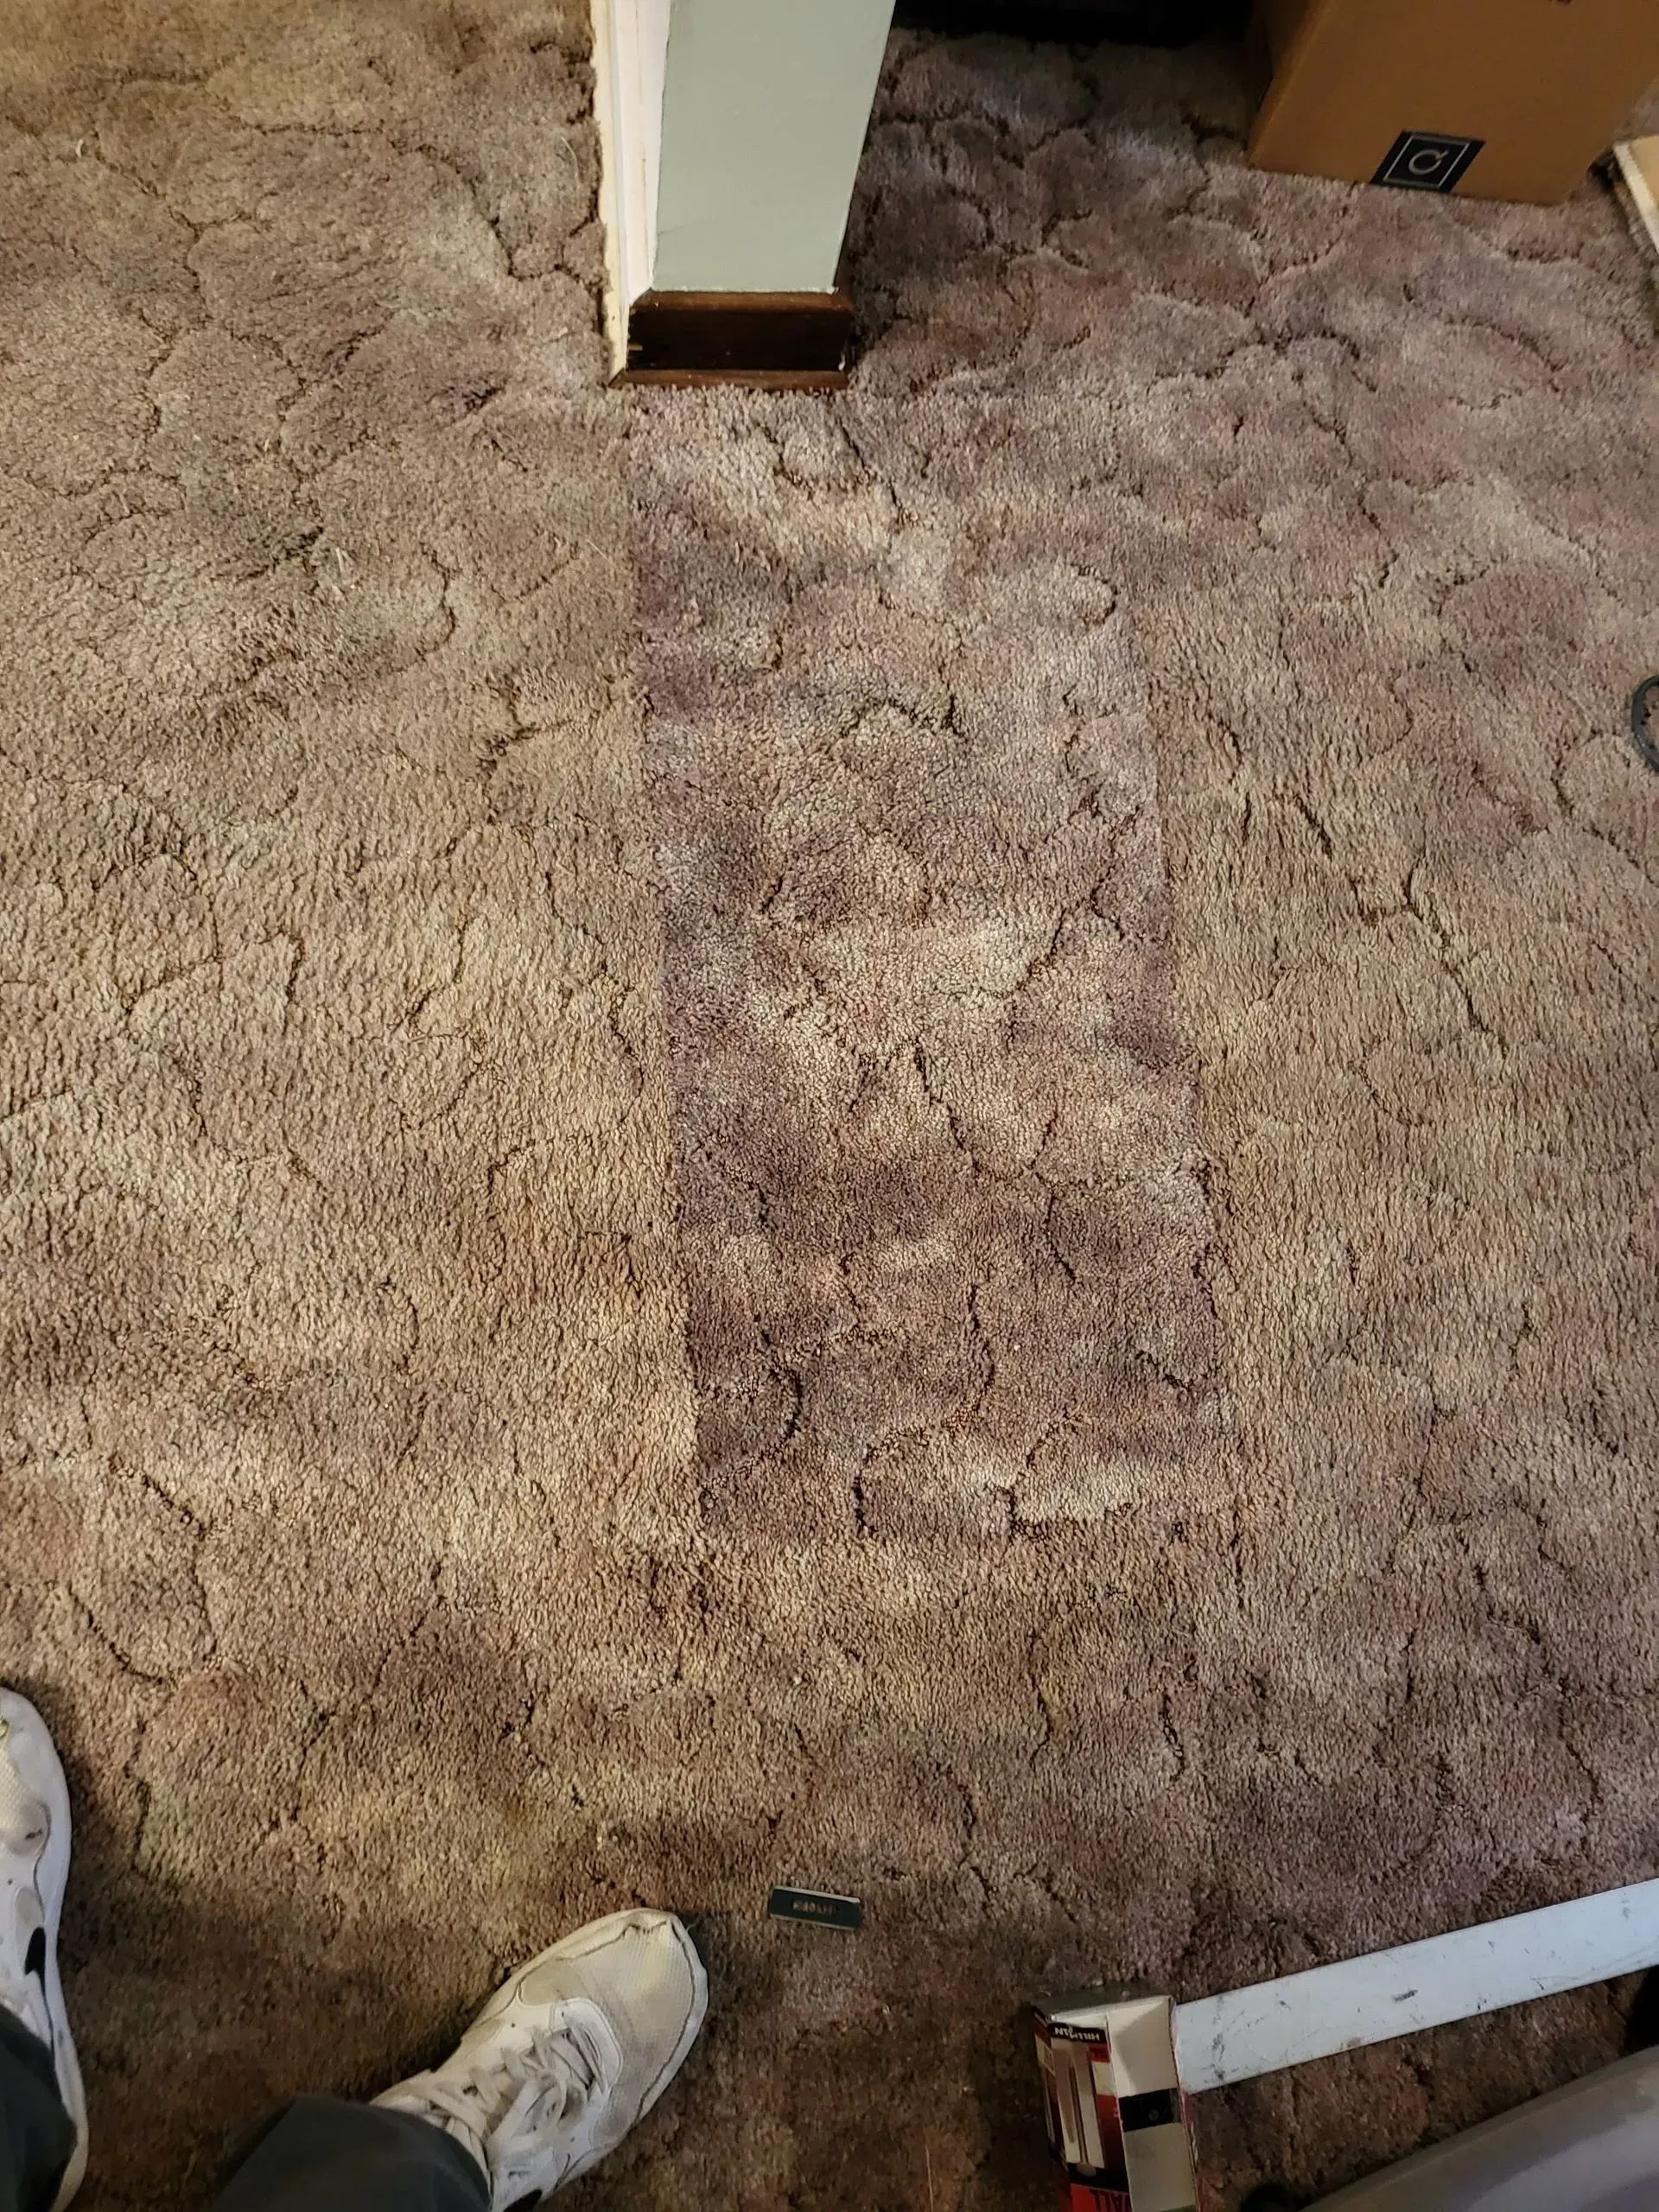
Trust Pittsburgh’s Flooring Pros for Your Next Project
Over time, even the best carpets can begin to show signs of wear—wrinkles, bulges, or loosening around the edges. These issues not only affect the look of your home but can also pose safety risks. When this happens, many homeowners are left wondering whether they should invest in restretching the carpet or replace it altogether. Both options have benefits depending on your budget, the carpet’s age, and the condition of the flooring underneath. Choosing the right approach can help extend your carpet’s life and improve comfort. In this guide, we’ll help you decide whether carpet restretching or replacement is the smarter solution for your flooring concerns.